
2 posts tagged with "hardware"

View All Tags

Step-by-Step Guide: How to Connect Your ZKTeco Device to Biosensei

Β· 3 min read
BioSensei Team
Engineering & Product

In this tutorial, you will learn how to link your ZKTeco time clock or access control device to the Biosensei platform in just a few minutes. Follow these steps to activate cloud synchronization and start managing your attendance in real-time.

Prerequisites​

  • Have an active account at app.biosensei.io.
  • A ZKTeco device compatible with ADMS/Cloud.
  • Stable internet connection (Ethernet or Wi-Fi) at the installation site.

Step 1: Start the process on the platform​

First, log in to your Biosensei account. Once inside the main dashboard, go to the Devices section in the side menu.

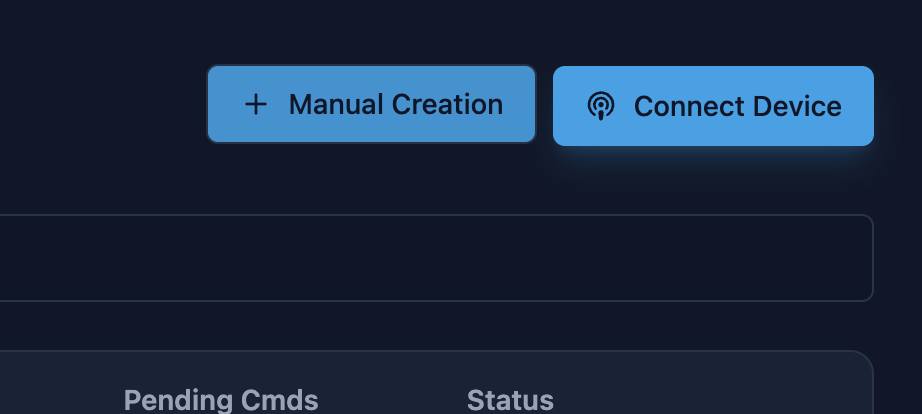
Click on the blue "Connect Device" button located in the top right corner of the screen.

Step 1


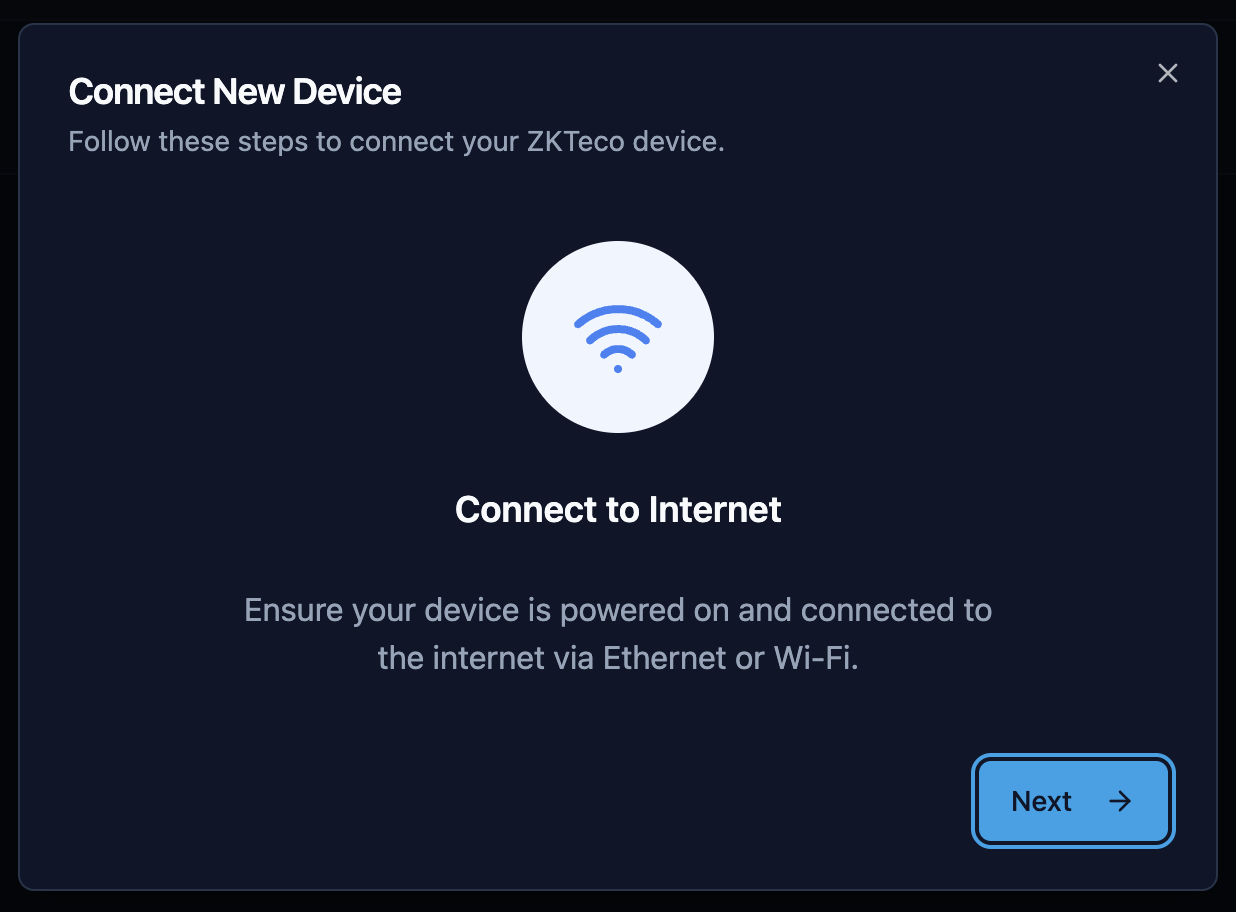
Step 2: Internet Connection​

You will now see the connection wizard. Make sure your ZKTeco equipment is powered on and has internet access.

  • Cable: Connect the Ethernet cable directly to the router.
  • Wi-Fi: Configure the wireless network from the device menu.

Tip: If you are on a standard home or office network, make sure to enable DHCP in the device network settings. This will allow it to obtain an IP address automatically and avoid connection issues.

Step 2


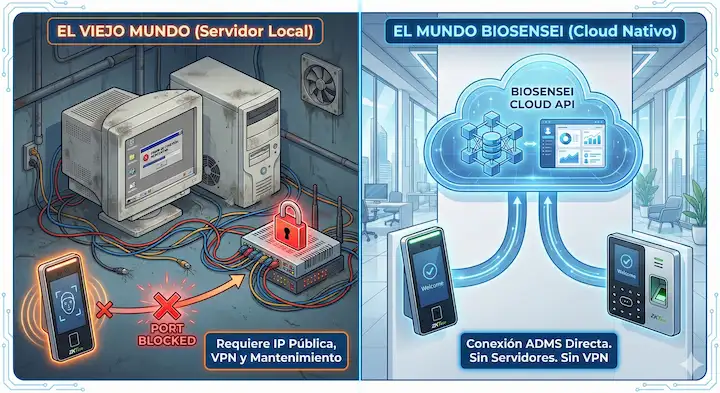
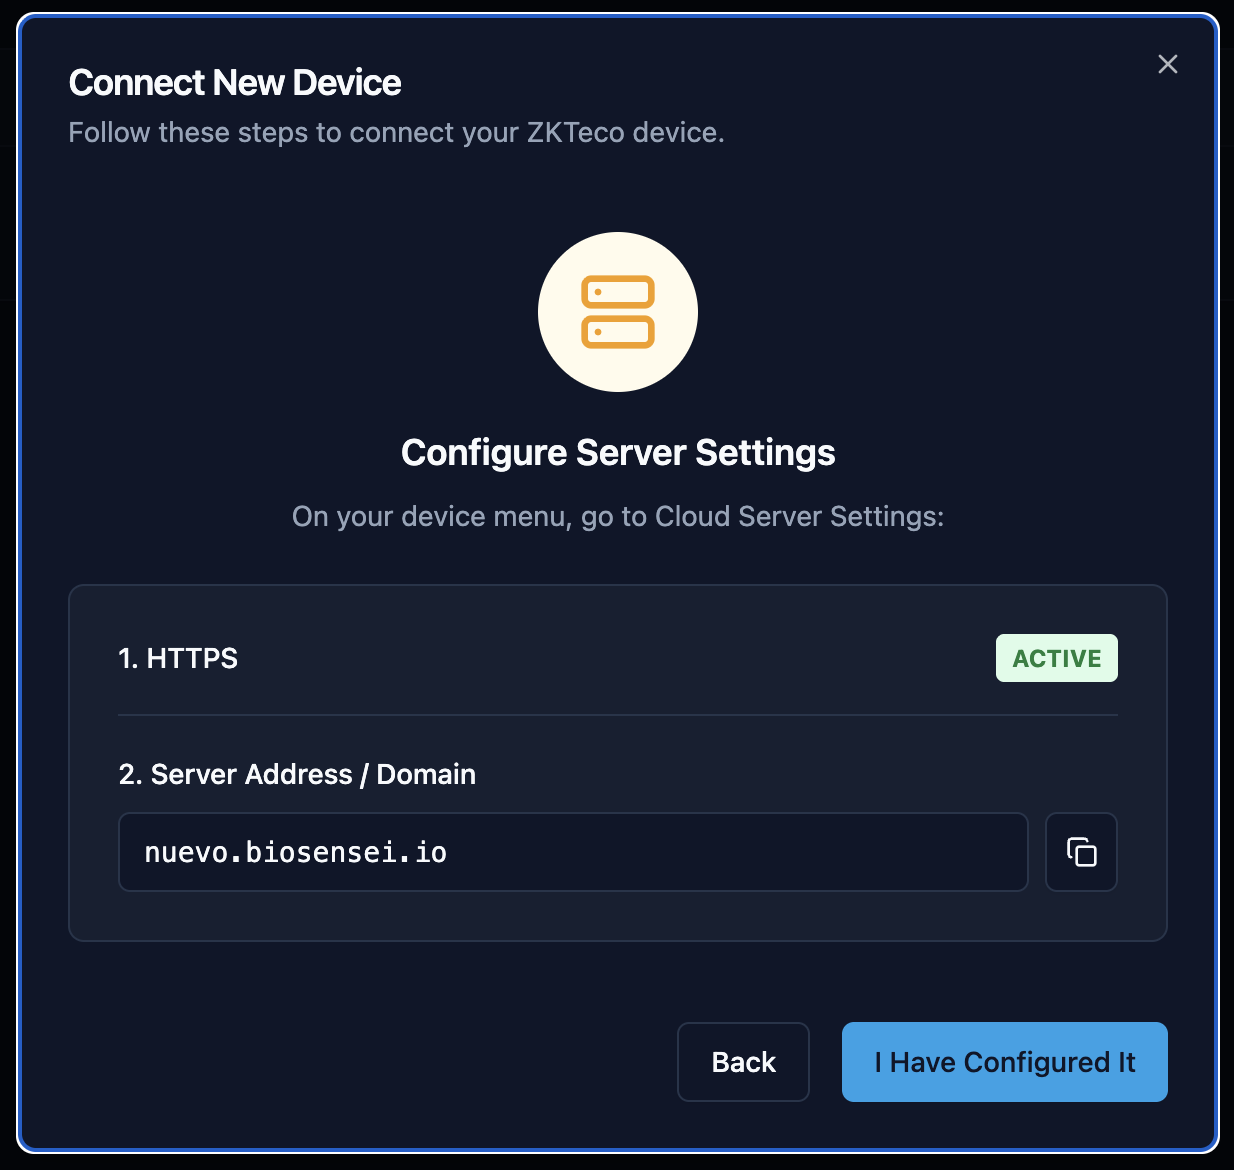
Step 3: Configure Cloud Server (ADMS)​

This is the crucial step. You must point your device to the Biosensei servers.

On the ZKTeco clock menu, navigate to Network > Cloud Server Settings and adjust the following:

  1. HTTPS: Enable it. This ensures information travels encrypted. Note: The device will restart when enabling this option.
  2. Server Address: Change the mode to "Domain Name".
  3. Server URL: Type the unique web address shown on the Biosensei screen in this step.

Important! The address has the format [your_code].biosensei.io. In the example image you will see new.biosensei.io, but you must type the one that appears on your own screen, as this address is unique to your workspace.

Step 3


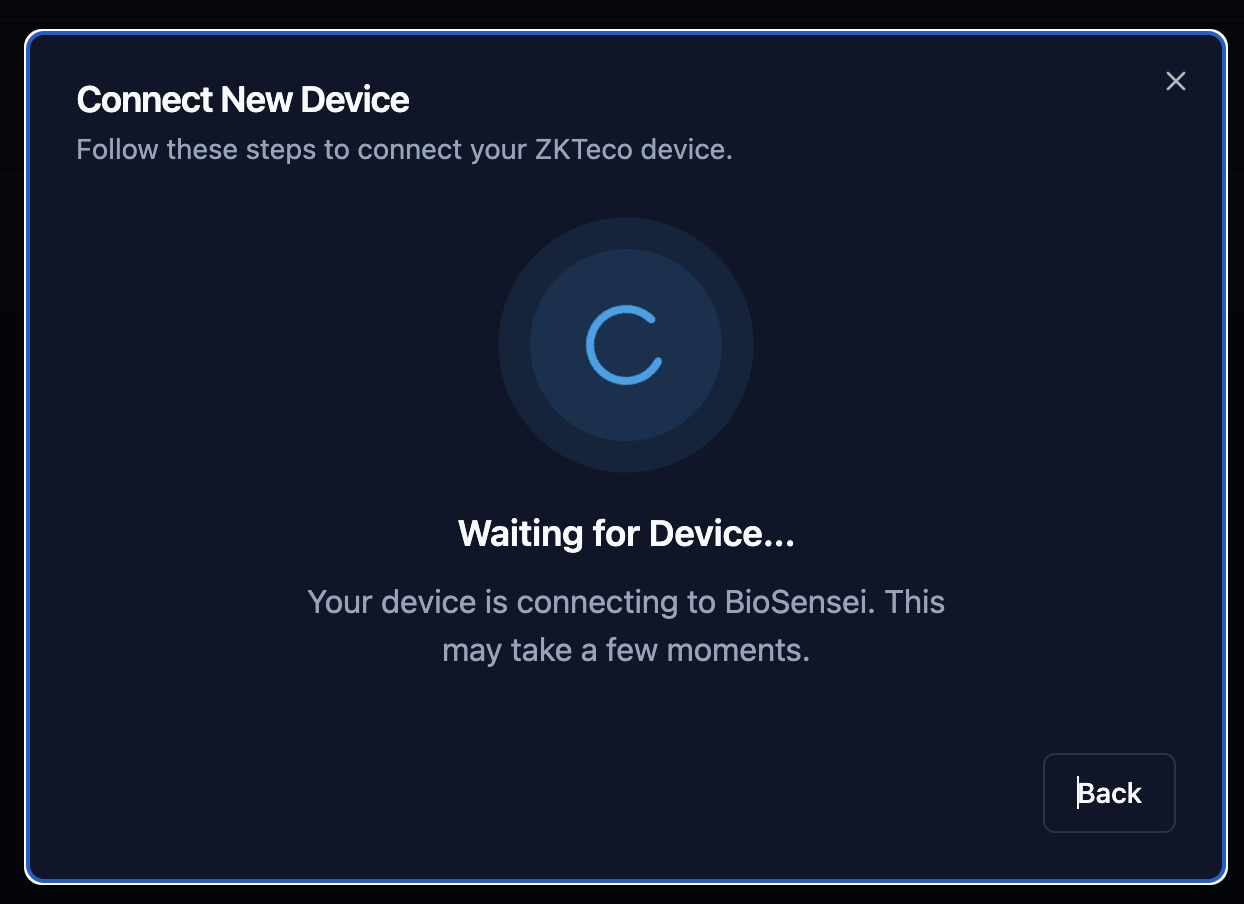
Step 4: Waiting for connection​

Once the physical device is configured, click the "Next" button on the web platform.

Biosensei will start "listening" to the network waiting for your device to report. This may take a few seconds while the device establishes contact with the cloud.

Step 4


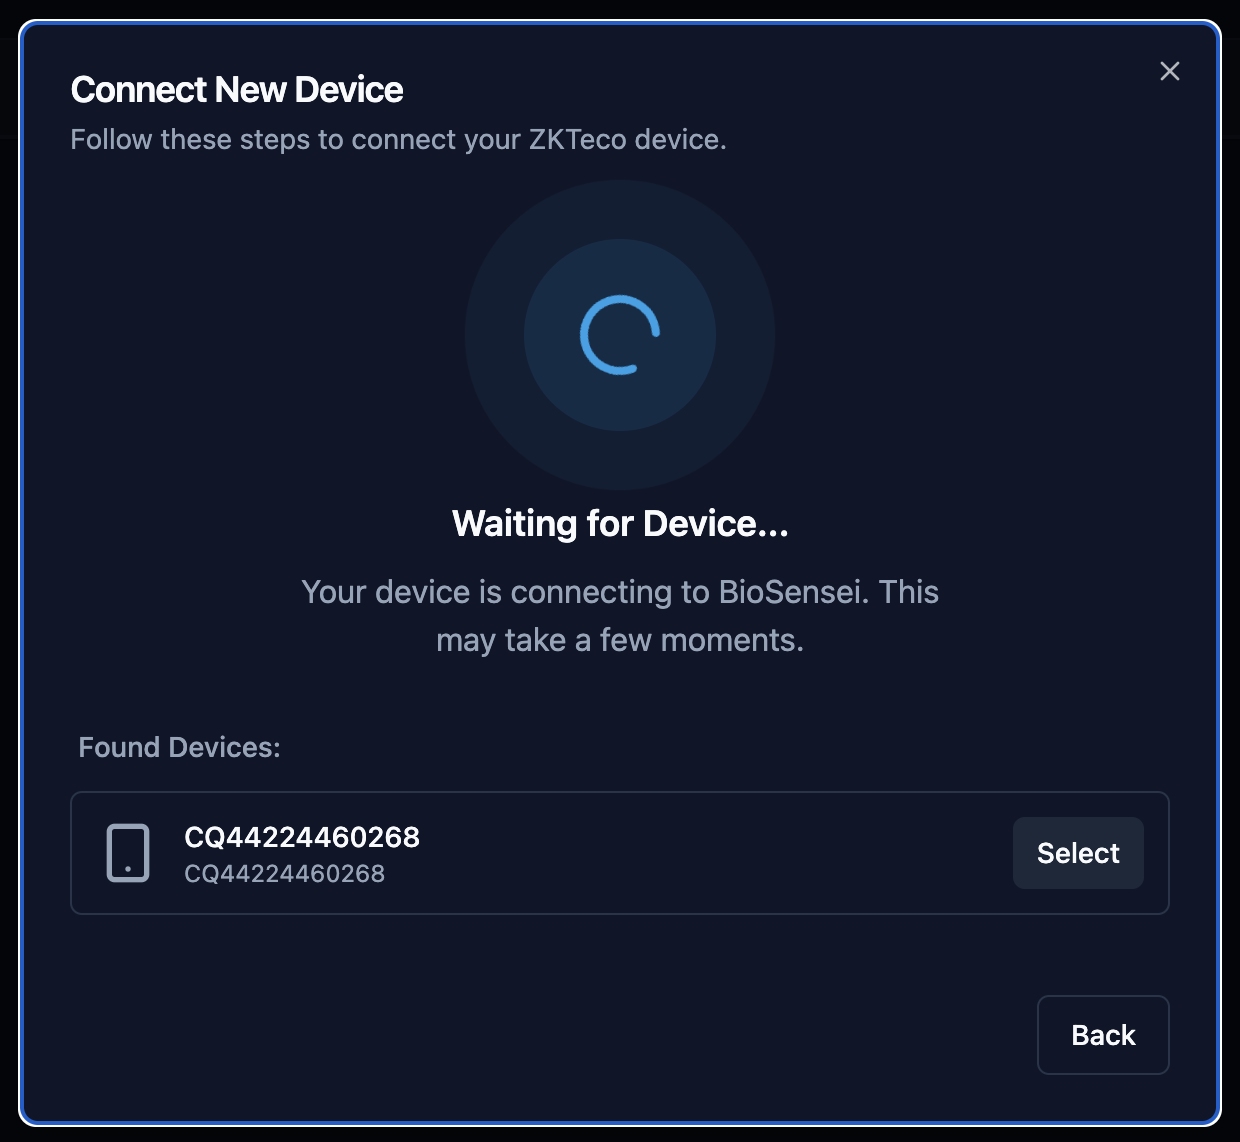
Step 5: Select your device​

When the connection is established, Biosensei will detect the equipment and show it to you in a list.

Verify that the Serial Number (S/N) on the screen matches the label on the back of your ZKTeco machine. If correct, click the "Select" button.

Step 5


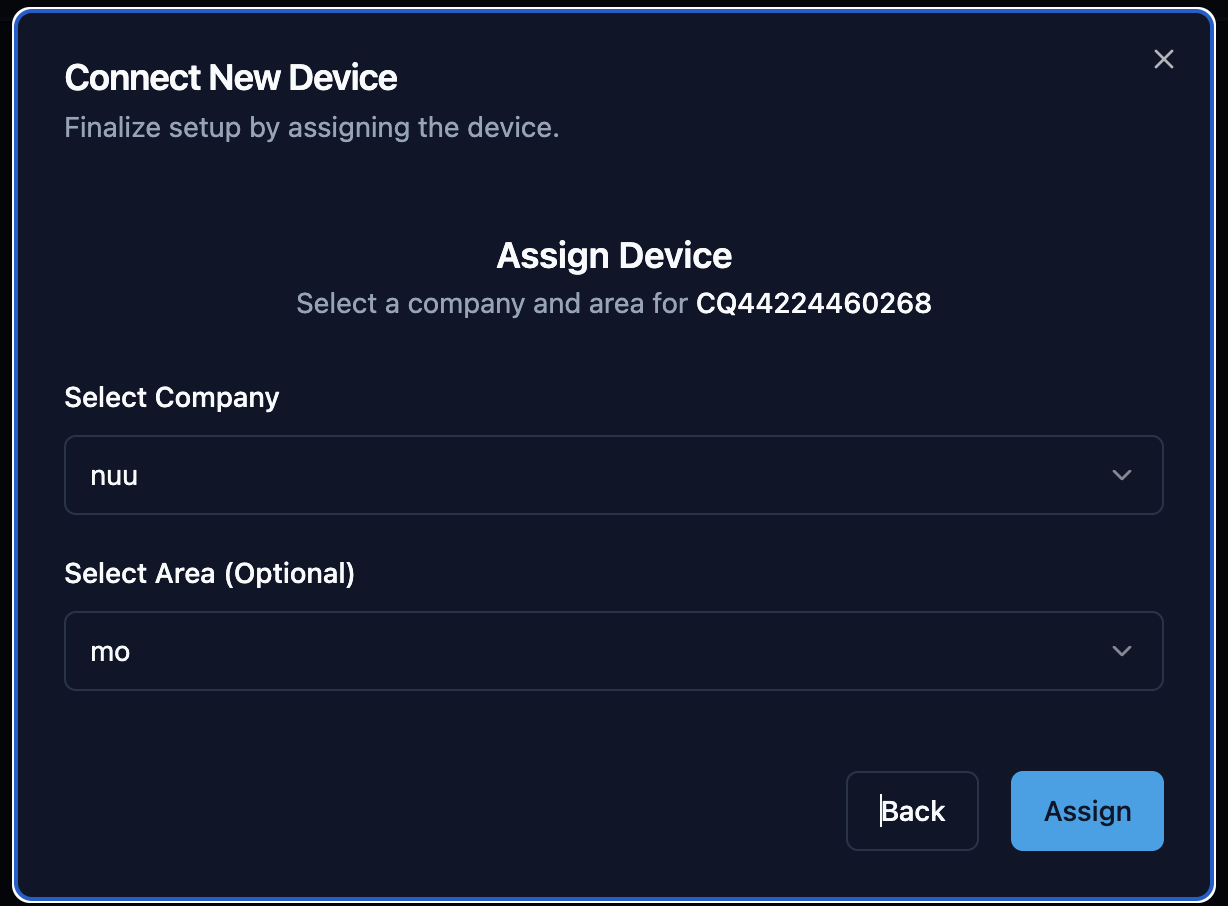
Step 6: Assign location​

To keep your inventory organized, the system will ask you to assign this device to a Company and the corresponding Area (for example: Reception, Warehouse, Head Office).

Select the options and click "Assign".

Step 6


Ready! Device Connected​

Congratulations! Your device has been successfully registered and now appears "Online".

Step 7

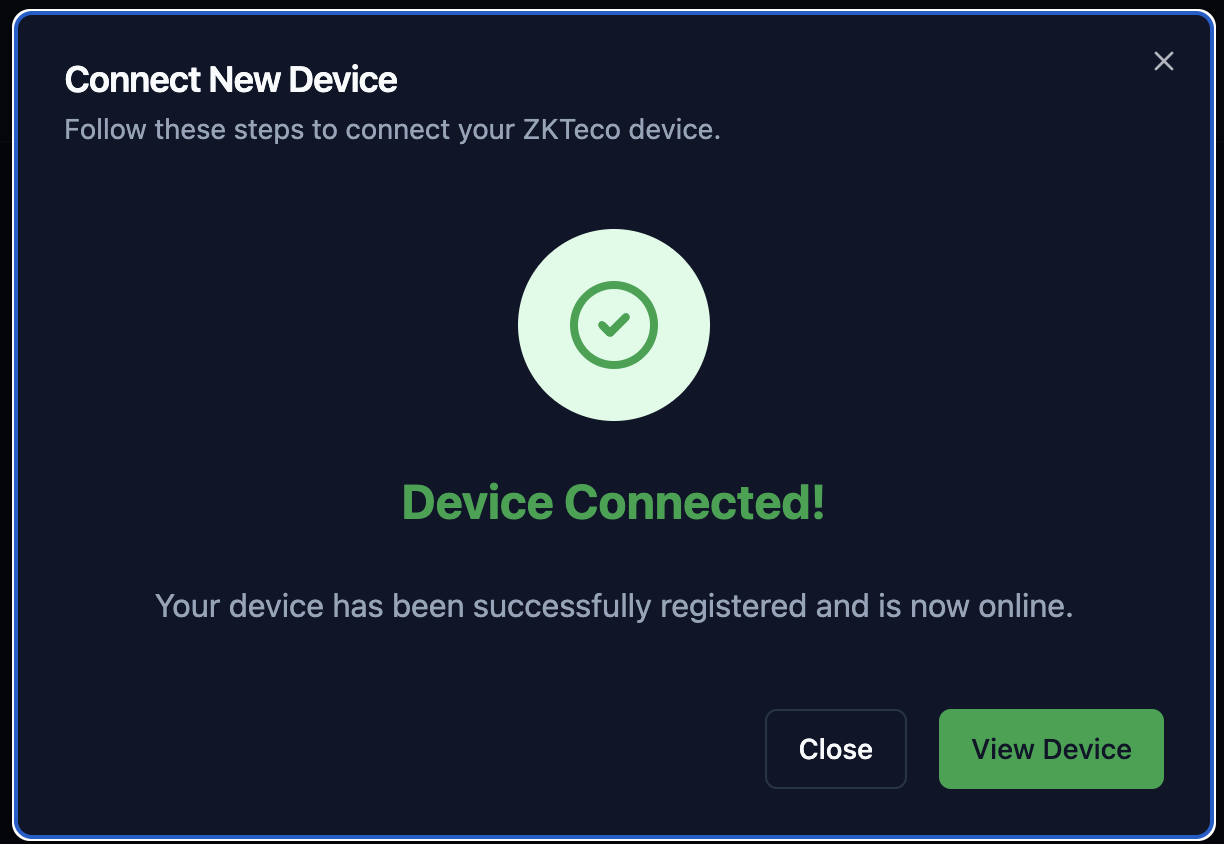
From now on, attendance records will automatically travel to the cloud.

Next steps:

  • Access Control: If your equipment opens doors, you can proceed to configure Access Groups.
  • User Management: You can now start sending users and fingerprints from the platform to the device. [Coming soon: User synchronization guide]

List of Devices Compatible with Biosensei

Β· 4 min read
BioSensei Team
Engineering & Product

Before connecting your hardware, it is fundamental to know if it is "Cloud Ready". In this article, we explain Biosensei's modern architecture and list the tested and compatible models.

What is Biosensei?​

Biosensei is the cloud operating system that modernizes your access control. We replace the old software that forces you to have servers under the desk, pay for licenses, and fight with complex network configurations.

Biosensei converts your existing biometric hardware into smart IoT devices, manageable from anywhere.

Connection Architecture: Goodbye to local connection and VPN​

The main difference lies in how data travels. Biosensei uses the ADMS (Push Protocol), the modern standard for cloud-device communication.

Comparison

Why is this method better?

  1. No Public IPs or VPNs: The ZKTeco device works like a cellphone: it initiates the secure connection to our cloud (api.biosensei.io). You don't need to open dangerous ports in your firewall.
  2. Bank-Grade Security: All communication travels encrypted via HTTPS.
  3. "Always-On" Synchronization: If the internet cuts out, the device keeps working and saves data. When the connection returns, it automatically "pushes" all history to the cloud.

Compatibility Table​

The golden rule is simple: If the device has ADMS function, it is compatible with Biosensei.

Below, we list the most common models on the market (manufactured from 2014 onwards) that support the ZKFinger v10.0 fingerprint algorithm and Push protocol.

🏒 Attendance Series (Time & Attendance)​

Robust devices ideal for offices, SMBs, and schedule control.

ModelConnectionFingerprints / FacesADMS StatusTechnical Notes
K40 / K40 ProCable (LAN)1,000 / N/A⚠️ ReviewThe most popular. Older versions require Firmware update to activate cloud.
K50 / K50-ACable (LAN)3,000 / N/A⚠️ ReviewSimilar to K40. "A" model includes backup battery.
UA860WiFi + Cable3,000 / N/Aβœ… NativeColor screen. Excellent WiFi stability.
UA300 / 400Cable (LAN)3,000 / N/A⚠️ ReviewCheck that "Cloud Server Config" appears in Network menu.
IN01-ACable / WiFi (Opt)3,000 / N/A⚠️ ReviewRobust, battery included. Used widely in industry.

πŸšͺ Access Control Series (Standalone)​

Slim designs to install on door frames, turnstiles, and vehicle barriers.

ModelConnectionFingerprints / CardsADMS StatusTechnical Notes
F18Cable (LAN)3,000⚠️ ReviewIndustry standard. Models <2018 usually require FW update.
F19 / F21Cable (LAN)3,000⚠️ ReviewSimilar to F18, curved or touch design.
F22WiFi + Cable3,000βœ… NativeUltra slim, touch keypad. Works very well with Biosensei.
TF1700Cable (LAN)3,000⚠️ ReviewIP65 (Outdoor). Water and dust resistant.
MA300 / MA500Cable (LAN)1,500⚠️ ReviewMetallic anti-vandal. Configuration via Webserver.

πŸ‘€ Facial and Visible Light Series (New Generation)​

Cutting-edge technology with fast facial recognition and modern operating systems (Linux/Android).

ModelConnectionCapacity (Approx)ADMS StatusTechnical Notes
SpeedFace V3LCable (LAN)500-1,500 Facesβœ… NativeIP65 (Outdoor). Water resistant. Ideal for main entrances.
SpeedFace V5LWiFi + Cable6,000 Facesβœ… NativeHigh End. Distance recognition, palm and mask.
SpeedFace V4LCable / WiFi (Opt)800 Facesβœ… NativeEconomical Linux version. Responsive touch screen.
Horus E1WiFi (Only)6,000 Facesβœ… NativeSmartphone format. WiFi/4G only. Ideal for desk.
MB10-VL / MB20-VLWiFi + Cable100-500 Facesβœ… NativeCompact Visible Light. Very popular for small offices.
MB200 / MB300Cable (LAN)400 Facesβœ… NativeReliable multi-biometric entry-level models.
MB460 / MB360Cable (LAN)2,000 Fingerprints
1,500 Faces
βœ… NativeThe king of basic facial recognition (Must stop in front of camera).
MB560-VLWiFi + Cable3,000 Facesβœ… NativeHigh capacity Visible Light with multi-biometric support.
EFace10WiFi (Opt) + Cable500 Facesβœ… NativeCost-effective facial recognition with modern design.
uFace 800Cable / WiFi (Opt)4,000 Fingerprints
3,000 Faces
βœ… Native"The Tank". Large touch screen, very robust.
ZMM510 SeriesVariousVariousβœ… NativeSupport for ZMM510 / ZMM210 / ZMM220 / ZMM720 platforms.
Important: Old Models

Devices manufactured before 2014 or using the old fingerprint algorithm (v9.0) are NOT compatible. Likewise, the LX (LX14, LX50) series and K (USB only versions) series do not have a network port, so they cannot connect to the cloud.

Conclusion​

Biosensei is designed to be the universal platform for your ZKTeco hardware, as long as it speaks the modern language of the web (ADMS).

If you have one of the devices on the list marked as "Native" or "Review", you are ready to eliminate your local server and modernize your security in minutes.

Ready to connect your equipment?​

No credit card needed to start.

πŸ‘‰ Register for free on Biosensei and connect your first device today.

Do you have a model that doesn't appear on the list or technical doubts? Write to us at admin@biosensei.io and we will verify compatibility for you.